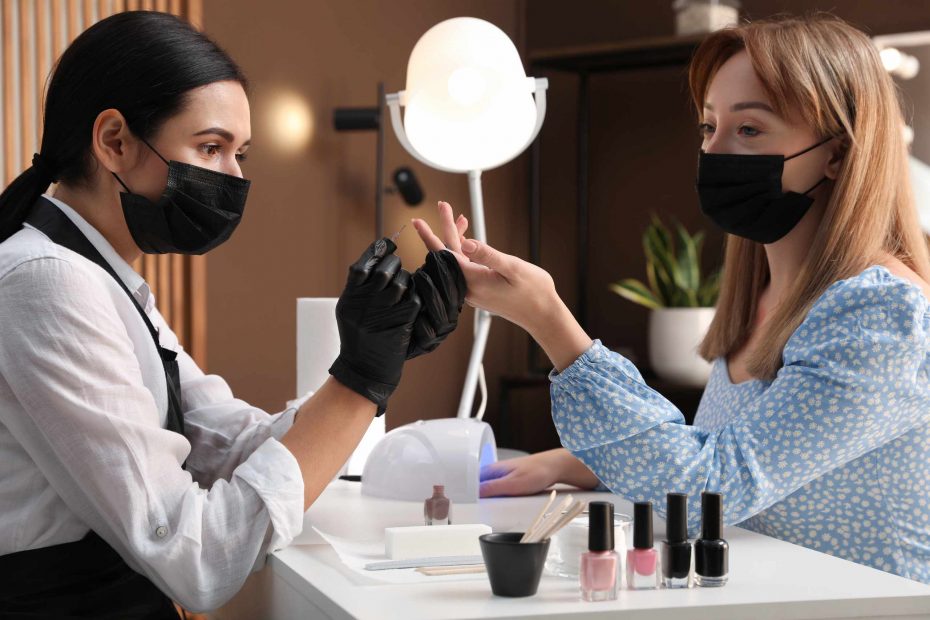
There is something inherently theatrical about the scratch of a nail file, but filing does not need to be that dramatic. A few hard swipes might seem innocuous, but the free edge is much thinner than it appears, and applying too much pressure can result in a ragged, uneven look or, more typically, the nail edge may snag or tear. If you are doing a DIY manicure, filing does not have to be about forcing the nail into some perfect shape, it is about guiding the edge slowly and making sure the nails look a little neater before the polish goes on.
Prior to filing the nail, decide what shape you want to create for it, and stick with it once you have chosen. A simple nail shape like rounded, oval, or a soft square is much easier to practice on than shapes with sharp edges or excessive length. You should then stand in front of your nails to see them head on, and determine at what point the sidewalls meet the nail. Going too deep into the sides is the fastest way to make the nail lose structural balance, or for the free edge to look narrower or weaker than it is. When filing, you should always allow the shape you choose to reflect the nail as it naturally looks, rather than trying to work against it.
Try this as a quick drill on a single nail or practice tip before you file a full set. Pick a single nail and visually determine a center point and the left and right side edges of that nail, then, using light pressure, file just the free edge, periodically stopping to compare both sides. Instead of moving your wrist into strange shapes and angles, turn the finger you are working on slightly. This allows the file to stay more in contact with the nail, and keeps you from filing more than needed on either side.
New nail files tend to saw in a back-and-forth motion quickly as this feels efficient to do, but this often produces rough results, especially if you are using a coarser file or the pressure is not even. It is best to go slow when filing and to move intentionally, but make sure to pause often and review the nail shape in a brighter light. As soon as the nail looks close to the intended shape, stop sooner than you may feel necessary.
Do be careful about the sidewalls, as they provide structure to your manicure and you should not carve in them to make it look narrower. If there is a sharp point or corner, you can gently soften the point, rather than filing deep into the sides. For a soft square, you can keep the top flatter, but round out the corners for an oval, and still keep enough width to look balanced.
After filing, brush away any dust and check the nail from underneath, or against a light surface to find little snags in the free edge that are best spotted before the base and color have been applied. You can lightly buff any roughness with a buffer block, but stop before the free edge feels too thin. You are aiming for a clean edge, not a weakened one.
At the end of filing, you should have control, and not the feeling of exhaustion. If the nail is noticeably shorter, you were probably filing too much. If the nail feels warm, feels sore, or feels too thin, the pressure was too much. Be sure to allow enough strength to withstand the pressure of base coat, color coat, and top coat without the nails looking scratchy, or overly worked. A great manicure starts with a free edge that has been filed into shape enough for it to stay intact.